
by studiotullia | Oct 30, 2019 | DIY, INTERIOR DESIGN
PAINT
This week has been about painting the room.
We chose a bright white for the trim and doors.
And we chose a bright green for the walls.
Arthur would not be swayed from a bold green and I decided to go with it (the picture above is a Benjamin Moore image).
It is a kid’s room after all.
The color we chose is STOKES FOREST GREEN by Benjamin Moore.
Below is the slanted wall that you see from the bed. We are going to put the decorative wallpaper mural there on the top half of the wall. It is called HIGH SEAS in Henderson Blue by REBELWALLS. We ordered it online from Sweden and had it in less than a week. It came with the glue, too.
For the first coat I did a really rough paint job around the trim because it was not dry yet and I was eager to get the color up on the walls. The next day I taped all the trim before applying the second coat.
Arthur was able to help out with the roller portion of the painting.
I decided to continue the color on the ceiling because I was afraid the room would feel chopped up and I want the mural to be the focus.
I’m afraid to go too dark in any room in Portland as we are always starved for light in the winter time, but I think the bright color will be cheerful. The room glows like an emerald jewel as you walk up the stairs.
Looking forward to sharing the final results with you next week.
ONE ROOM CHALLENGE
Here are the links to the featured designer and guest participants who took the challenge:

by studiotullia | Oct 17, 2018 | DIY, INTERIOR DESIGN
Here we are at week 3 and I have made some design decisions. The lighting and upholstery fabric have been ordered. But most importantly, I have started the mural! It’s like getting into a swimming pool; its a little hard at first and then you get more comfortable.

Be sure to check out what’s happening with the other ORC guest participants (tap the image above).
And to see some of the the featured designers at week 3 (tap the image below): 
There are so many talented folks who do this – you should grab a cup of coffee (or a glass of wine) and spend some time checking things out.
So, onward we go. I settled on a chandelier:
LIGHTING
This was what we had before:

And this is what I selected:

$297.45
Originally $729.35
There are a few chandeliers out there that I love (that cost a lot more) but ultimately to find something my husband and I both agreed on, and with the price being so right on this one, we went for it. I like that the shades are hand blown glass rather than fabric shades that gather dust. And I like the more modern look and black silhouette. I can take my time and wait to find a really amazing chandelier down the road.
UPHOLSTERY for CHAIRS:
I was going to go with a leopard velvet kind of like the rocker pictured below.
I needed something somewhat neutral that works with the black and white in the room on the loveseat and the sideboard.
STRIPED BLACK & WHITE LOVESEAT
BLACK/BROWN PERIOD SIDEBOARD:
I ultimately chose:
RED MILES TUMBLING BLOCKS by SCHUMACHER
It will breathe some new life into the room, I am hoping.
So, the inevitable needed to happen. The mural needed to begin and I have never done a mural before.
MURAL INSPO
JOHN DERIAN’s SWALLOW WALLPAPER:

and this lovely wallpaper mural by:

So began the custom mixing:

And the beginning application of paint with the roller:


And the brush (see our lovely temporary light fixture below):


My 11 year old daughter was helping me quite a bit with the sky and clouds. She has always been an artist…

By the end of the second day, it was looking more like Van Gogh’s Starry Night than what I had in mind.

I made the mistake of thinking that I could bang this out in a couple of 3 hour sessions and after two days, that is what it looked like.

I told my daughter I wasn’t happy with it and that I wanted to paint it over. She asked if she could play with it for a bit if I was planning to scrap it anyway. So she did. I swallowed my ego and admitted that I liked what she did with the clouds. She softened them and blended them better so they weren’t so animated. Then I realized that, as usual, I needed to slow down and take my time if I wanted to create something worth keeping. She is always telling me to slow down.
So needless to say the mural is still in the works.
We are in full swing now and I look forward to sharing my progress with you next week. In the meantime, you can follow me on INSTAGRAM
Let me know what you think and thank you for following along!

by studiotullia | Oct 10, 2018 | DIY, INTERIOR DESIGN
Here we are at week two and I am excited to have settled on the color palette at least for the walls. We are gaining momentum on this project. For some reason, the ORC makes it all come together…

(Click on images above and below to see all the other designers’ projects)

PAINT

This week as been about getting the base colors for the room where I want them. I settled on A PIECE OF CAKE by Magnolia Home for the walls which is a light gray that looks taupe until it dries. It is a silvery gray. My husband thought it was the same color as the dry wall tiles he was installing on the ceilings. I have to admit he has a point, so this color required some serious convincing on my part.


It looks almost white during the day but as you can see below it is darker than the white wall on the left. For Portland winters I think it will stay light enough. We’ve already had some rainy gray days and it feels a lot better in the dining room already than the dark orange we lived with for years.
Below is pretty much what you need to paint. Blue tape and paper, spackling paste for patching walls, putty knife, sandpaper, brushes, rollers, paint cup, paint tray and liners, drop cloth, paint, a bucket of water and a rag.

I recommend buying the small color sample cans until you figure out what looks right. The space and natural light at your home is often radically different than in the paint store.

I chose SUMMER SKY by Metro Paint mixed with their MOUNTAIN SNOW until it was a very light sky blue for the Ceiling.

And for the built in bookcase I chose:
 RALPH LAUREN OCULUA BLUE RL1747
and

METRO PAINT MOUNTAIN SNOW $13/gallon! Recycled paint
You don’t need a lot of the teal blue relative to the white. I came up with something close to this color:


ACCENT WALL/SKY MURAL
I have been obsessed with sky and cloud formations all Summer in anticipation of painting the mural on the accent wall. Something like this sky wall by NEWALL is my goal:

I love the colors and swallows in this wallpaper by John Derian.

Here are just a few of the lovely skies captured this Summer – can you believe how brilliant blue the sky can be?

Gearhart Beach on the Oregon Coast:


Astoria, OR at my Father in Law’s Studio – my husband and kids are canoeing.

I had this vintage painting below framed over the Summer. It also captures the color palette I am after for this room. I chose a gray washed, simple, more modern frame than the original ornate gold one. What a difference!

Thanks for following along. See you next week.
by studiotullia | Apr 6, 2018 | DIY, INTERIOR DESIGN
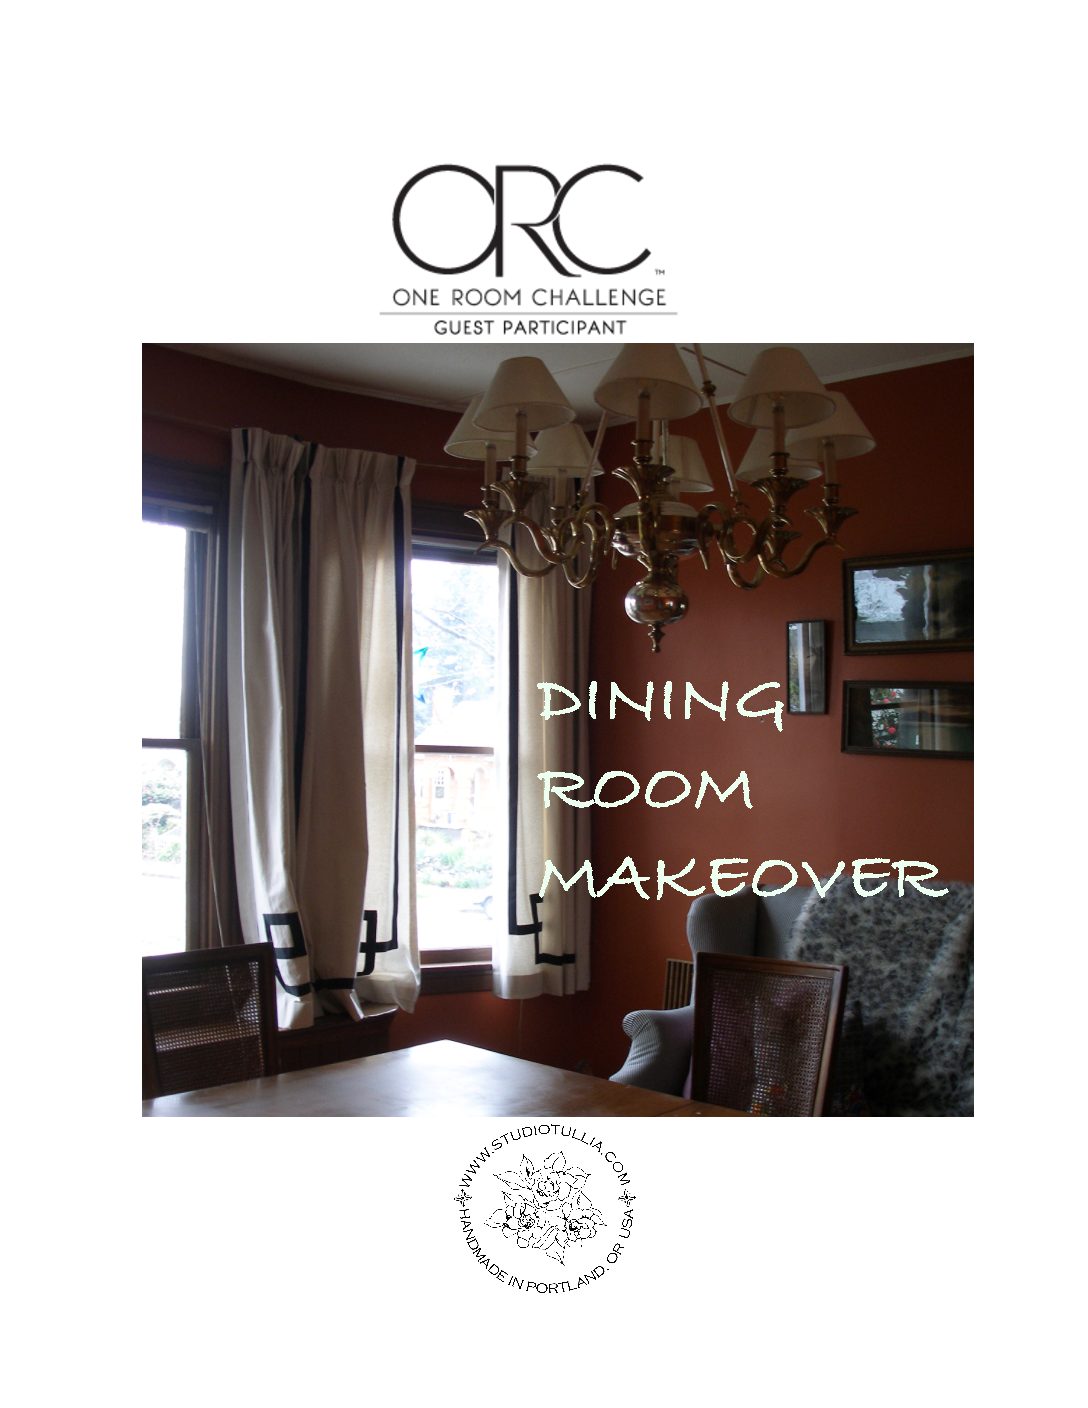
Well, folks, I’ve decided to sign up for yet another ONE ROOM CHALLENGE. This year’s challenge? MY DINING ROOM.

As much as these six week projects add serious chaos to our already hectic lives at the homestead, its all about the results. And the commitment to improve one more room in this old house. It makes us do stuff we wouldn’t normally get done, in a timely manner. Lets face it; the weekly accountability piece and the encouragement from watching other participants really helps. When I tell my husband, he rolls his eyes with a look of concern on his face, wondering I’m sure, what this is going to cost.
If you are not already familiar with the ONE ROOM CHALLENGE, it is a bi-annual event created by Linda from CALLING IT HOME that has been going on for thirteen years now. There are some seriously talented DESIGNERS that are asked to participate:

Over a hundred GUEST PARTICIPANTS like myself that must be design bloggers also volunteer to participate:

This is my fourth ORC. I will include links with the final results of my previous ORC rooms at the end of this article if you are curious.
So onward. Here is my very ORANGE dining room. It may be hard to believe this, but the dining room was this color when we moved into this house almost 12 years ago. Over the years, especially in the Winter, it really feels dark. I plan to lighten up the room quite a bit.
WALLS

INSPIRATION
Here are a few inspiration shots (from IKSEL DECORATIVE ARTS & de GOURNAY along with a few palmy rooms found on DAILY DREAM DECOR)


You see where I’m going with this, right?
LIGHTING
The BRASS CHANDELIER below was purchased for a steal at the REBUILDING CENTER in Portland and was supposed to be a temporary fix when we first bought this house. When you have twins, well, things really get put on hold. They are about to turn 11 now, so it really is time to start whipping this home into shape.
CURTAINS
The RIBBON CURTAINS were prototypes for possible curtain offerings via STUDIO TULLIA, my online store. The window seat and the bay windows have posed some challenges but really I have never been happy with the way they turned out so they are outta there.
FURNISHINGS
The dining table and chairs could use some TLC. They are 1950’s era Baker I believe. We picked the set up at an estate sale in San Francisco that came with us up to Oregon. I would love a new set but I don’t think the husband is going to go for it, so my challenge is to update/spruce up what we’ve got.

BUILT IN
I enjoy this built-in, but would like a nice contrast color and a new arrangement in there.

REUPHOLSTERY
We will REUPHOLSTER the Chairs for sure and hopefully address the wicker damage on some of the chairs.

The Love Seat in the background is also a vintage heirloom that I have reupholstered in back and white ticking. It will most likely need a SLIPCOVER.
HARDWARE/SHADES
I am going to to replace the CURTAINS, make them full length and change the HARDWARE. I am thinking SHADES on the windows may be the way to go.

UTILITIES/RETURN
And this HEAT RETURN is in bad shape, so that will also need to be replaced.

So that’s it in a nutshell.
Here are the links to the last two ORC final reveals:
ORC FALL2017 GUEST ROOM
ORC FALL 2016 HALLWAY/STAIRS
ORC SPRING 2016 CHARLOTTE’ S ROOM (it did not transfer to my new blog apparently…) I’ll have to update soon.
Thanks for following along and I will be back next week to share more.


